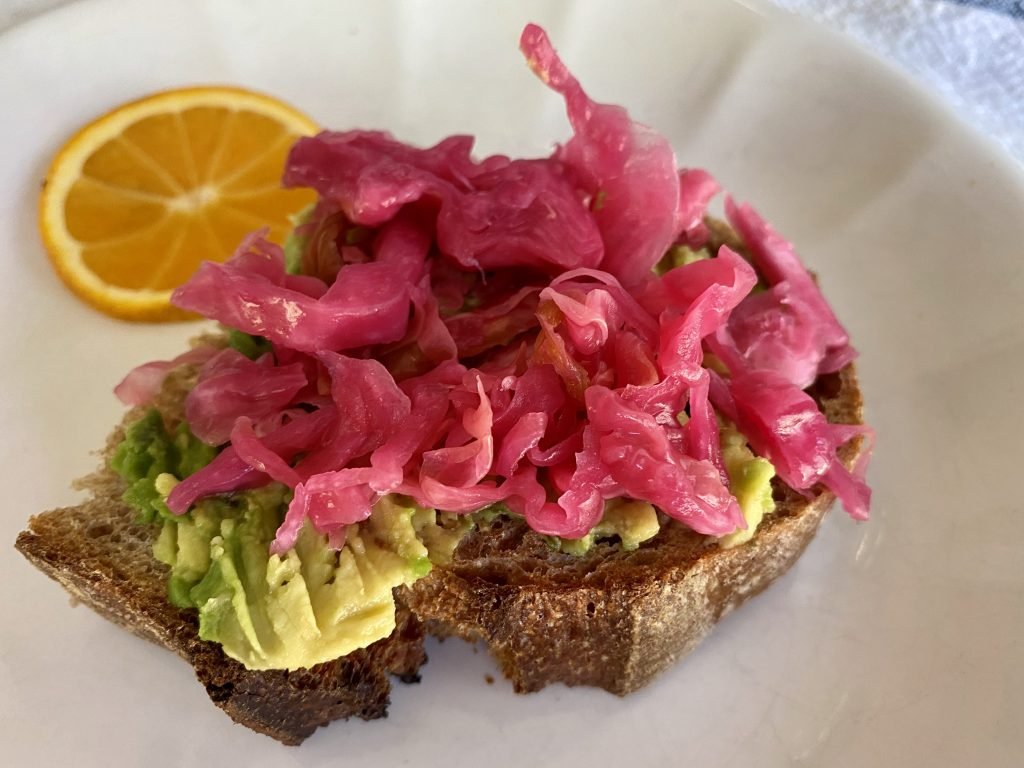
Curtido (sometimes spelled cortido) is a Salvadoreña (from El Salvador in Central America) version of sauerkraut. The word encurtido means pickle in El Salvadorean Spanish. In its native country, the full name of this recipe is encurtido de repollo (pickled cabbage) or encurtidos de vegetales (pickled veggies). It can take on many variations, similar to how kimchi means pickled veggies in Korea also has hundreds of varieties!
It has been shortened to just curtido or cortido in English. Most of the recipes I found use vinegar, but this combination of veggies lends itself well to a natural, wild fermentation!
The balance of herby aromas and onions (they mellow after a few weeks of fermentation) make this a unique spin on plain ol’ cabbage and salt (not that there’s anything wrong with that)!
Curtido
Ingredients
- 2.25 kg (5 to 6 lbs.) red or green cabbage about 2 medium-sized heads
- 60 g (4 oz.) white or yellow onion
- 3 carrots, medium sized
- 4 sprigs fresh oregano or marjoram
- 45 ml (3 Tbsp.) fine sea salt
Instructions
Prepare Vegetables
- Clean vegetables to wash dirt off. Remove any dark green tough outer leaves from cabbage and compost or use for another purpose.
- Slice a cabbage head in half lengthwise, so that the core keeps each half together. Shred each half into ¼” ribbons using v-slicer, mandoline, or chef’s knife.
- Slice the onion into ⅛ to ¼" rings (using a chef's knife or on mandoline) and cut rings in half (semicircles) and add to bowl.
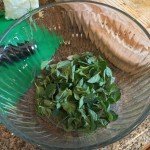
- Pluck leaves from oregano and marjoram stems, and dice leaves. Add to bowl.
- Peel or grate carrots and add to bowl.
- Sprinkle salt evenly over and throughout bowl.
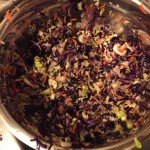
- Squeeze the mixture with clean hands or a kraut pounder to break cell walls and encourage water to come out of vegetables.
- Add mixture to glass jar(s) or other fermentation vessel(s). Make sure to add every last drop of brine that formed in bowl into the container(s).
- Pack down contents so that the top surface is even and flat.
Ferment
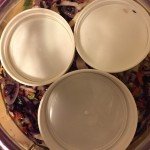
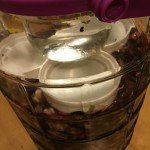
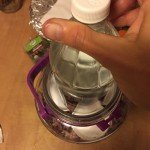
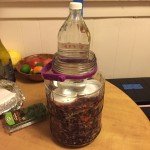
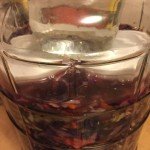
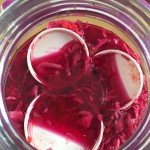
- Place a lid or plate that fits into the container on top of the surface. Add a weight like a sterilized rock, a jar or glass bottle filled with water. OR, if using a small batch fermentation kit, add the weight(s) to the jar.
- There should be enough brine to just cover the contents when weighed down. It is normal for more brine to form in the first day or so after putting up.
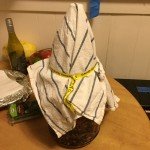
- Cover container with a dish towel or tea towel to keep out flies and dust. Secure with a rubber band, twist ties or elastic strap. Or if using an airlock lid, add it to the top of the container.
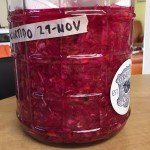
- Label your container with the contents and date started. (I use blue painter’s tape and a permanent marker, and I always stick the label on the side of the container, rather than the lid. (Those lids have a notorious habit of switching jars when you’re not looking, usually in the middle of the night.)
- Stash it in a cool place, out of direct sunlight.
- Sauerkraut can ferment in as little as 5 days. Typically, I ferment sauerkraut two weeks in warm weather, or four weeks in cooler weather. Fermentation speed varies with the seasons and the climate.
Cleaning
- Yeast and/or mold may form on the surface during fermentation. This is normal, especially when the top surface is exposed to air. Remove any weight and lids. and rinse them with water. Wipe, scrape, or scoop off surface yeasts or mold from the top and sides of the jar with a spoon, or clean paper towel, getting as much as you can. Don’t worry if you don’t get it all. Then stir the contents and re-pack the surface. Any residual mold will quickly be killed in the acidic environment of the brine. The contents are safe under the brine. If you want to ferment longer, replace the weight and lid, and check again in a few days.
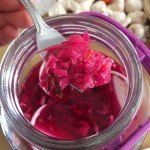
- When taste and texture are to your liking, transfer to jars (cleaning surface again if necessary), secure jars with the standard lids (not the airlock lids if you used them), and move to the refrigerator. Sauerkraut will last in the refrigerator for several months.

Author and founder of Fermenters Club. I’ve been fermenting food for 16 years.
In 2024, I published my first book, Fearless Fermenting.
When not stuffing things into jars, I enjoy permaculture gardening, cooking, yoga, writing, and studying cosmology and esoteric traditions.

Pingback: Around the World with Sauerkraut – Fermenters Club
Pingback: Caring for your DIY Sauerkraut | Fermenters Club